When it comes to home security, getting your Blink XT2 camera’s night vision settings just right can make all the difference. This isn’t just about being able to see in the dark. It’s about getting clear, usable video when you need it most. Whether you’re new to home security or you’re looking to fine-tune your existing setup, optimizing your Blink XT2’s night vision is a must.
Key Points
- Improving night vision clarity can be achieved by adjusting IR intensity.
- Enhanced visibility and avoidance of obstructions can be achieved by proper camera placement.
- For optimal performance, maintaining a strong Wi-Fi connection is crucial.
- Seamless transitions between lighting conditions can be achieved with auto mode settings.
- Regular maintenance can extend the battery life of your Blink XT2 camera.
Improving Your Blink XT2 Night Vision Performance
It’s not rocket science to get the best performance from your Blink XT2 night vision camera. But, it does require a bit of knowledge and a few strategic adjustments. By the end of this guide, you’ll be equipped with all the tools you need to ensure your camera performs at its best, even in low-light conditions.
What’s the Point of Optimizing Your Blink XT2 Night Vision?
Before we get into the nitty-gritty, you might be wondering why you should even care about optimizing your night vision settings. It’s pretty straightforward: clarity and security. When it’s dark out and visibility is low, having a camera that can capture clear footage is a game-changer. Whether you’re watching your backyard or your front porch, you want to make sure you’re catching every detail with accuracy.
Furthermore, tweaking your settings can help prolong the lifespan of your camera and its battery. By fine-tuning the night vision settings, you can achieve a happy medium between performance and durability, making sure your camera is always prepared when you need it the most.
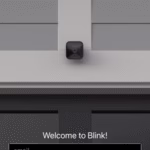
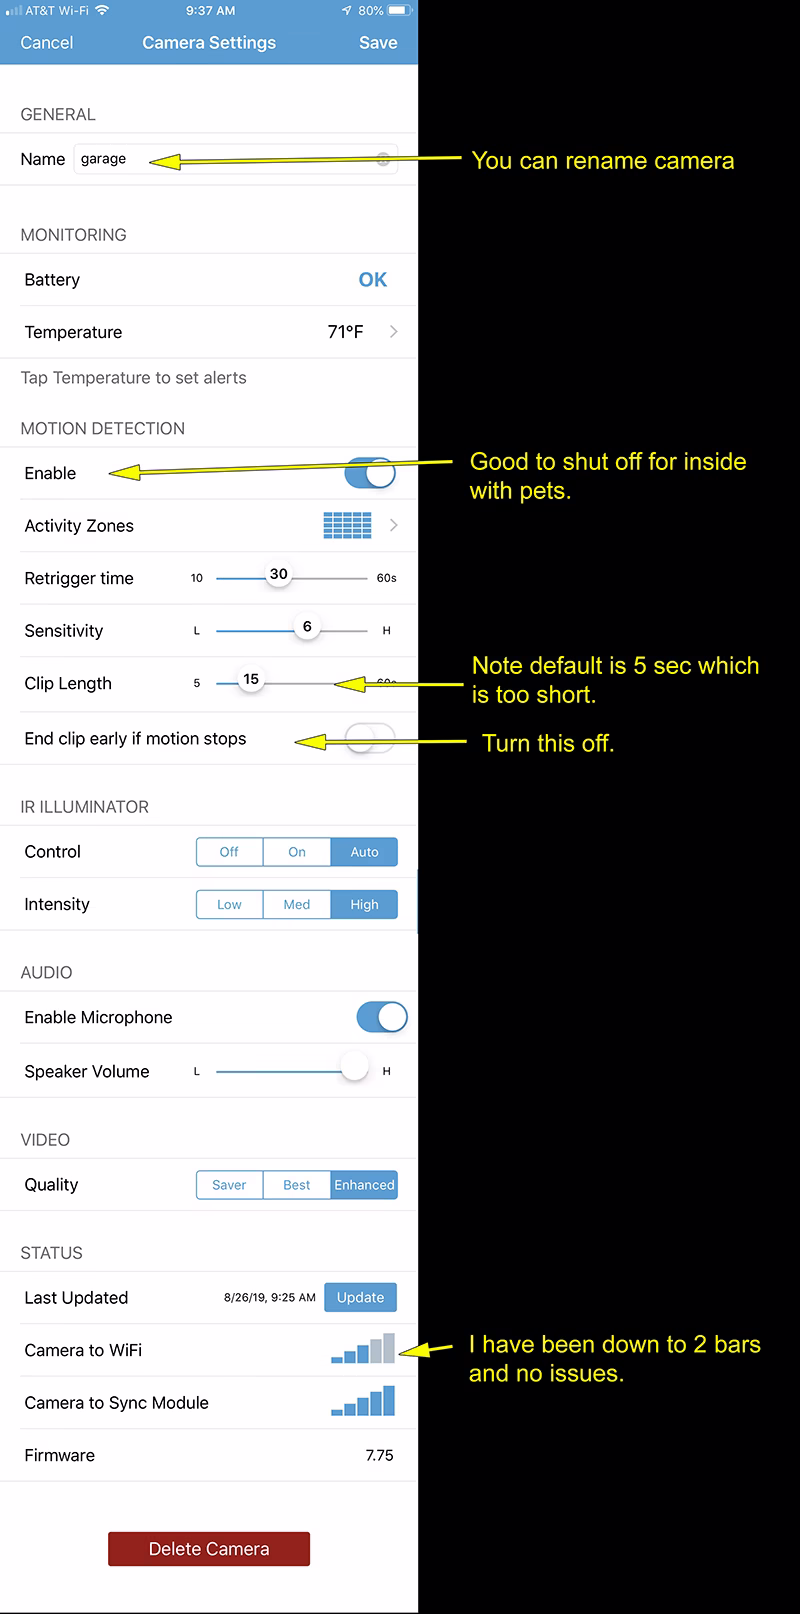
How to Access Your Camera Settings
Before we get into the nitty-gritty of optimization, let’s first go over how to access your Blink XT2 camera settings. It’s really simple:
- Start by launching the Blink app on your mobile device.
- Choose the camera you’d like to tweak from the main screen.
- Click on the settings button, which is typically depicted by a gear icon.
- At this point, you can go to the night vision settings and make any required changes.
Now that you know how to get to the settings, we can get into the nitty-gritty of how to fine-tune your night vision for clarity.
Improving Night Vision Settings for Better Image Quality
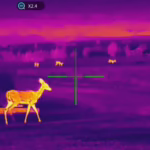
For night vision, image quality is paramount. The Blink XT2 camera is equipped with infrared (IR) LEDs that light up the area in front of the camera. But, the default settings may not be perfect for all situations. By adjusting the IR intensity, you can greatly enhance the image quality of your night videos.
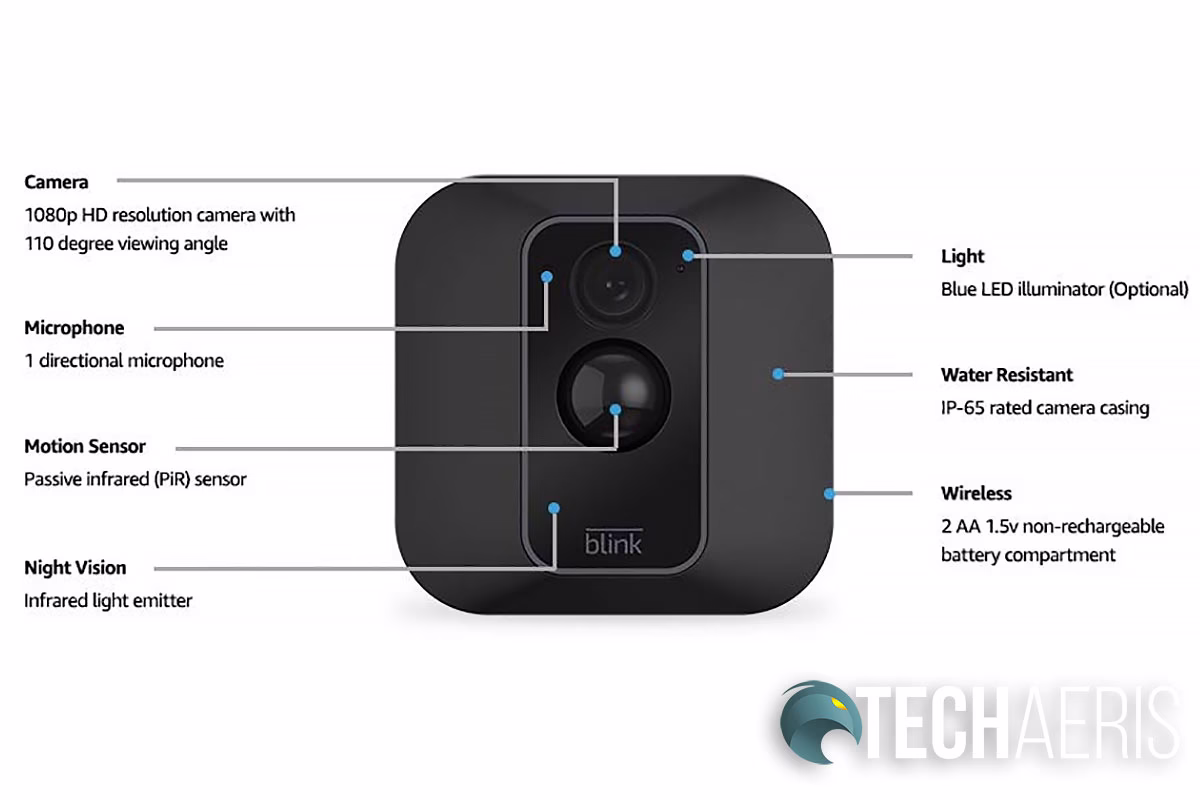
Get to Know the Blink XT2 Night Vision Features
The night vision feature of the Blink XT2 is made possible by infrared LEDs. These LEDs produce light that humans can’t see, but the camera’s sensor can. This allows the camera to “see” in the dark. The intensity of the IR light can be adjusted to fit different environments and lighting conditions.
Let’s say you’ve positioned your camera in a space that already has a bit of light. In that case, you probably won’t need to crank up the intensity of the IR LEDs. On the other hand, if you’re dealing with total darkness, you might need to boost the intensity to get a clear video.
Optimizing IR Intensity for Better Night Vision
One of the easiest and most effective ways to improve your camera’s night vision is by adjusting the IR intensity. Here’s how:
Here’s how to adjust your Blink XT2 night vision settings for optimal performance:
- First, open the Blink app and go to the night vision settings.
- Next, you’ll notice settings for IR intensity: Low, Medium, and High.
- Start by setting the intensity to Medium and check the quality of the video.
- If the video seems too bright or washed out, you should lower the intensity.
- If the video is too dark, you should increase the intensity to High.
Keep in mind, the goal is to find the right balance that gives you clear video without overexposing or underexposing the scene. It might take some trial and error, but the end result will be worth it.
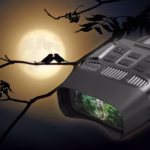
Using Auto Mode for Smooth Transitions
The Blink XT2 has a great feature that lets it automatically adapt to changes in lighting conditions. If you set your camera to Auto mode, it will smoothly switch between day and night settings without you having to do anything. This is especially handy if your camera is watching a place where the lighting conditions change during the day.
Here’s how to turn on Auto mode:
- Open the Blink app and navigate to the night vision settings.
- Choose the Auto option in the IR intensity settings.
When you enable Auto mode, your camera will adjust the IR intensity based on the lighting conditions. This ensures your camera will always perform optimally.
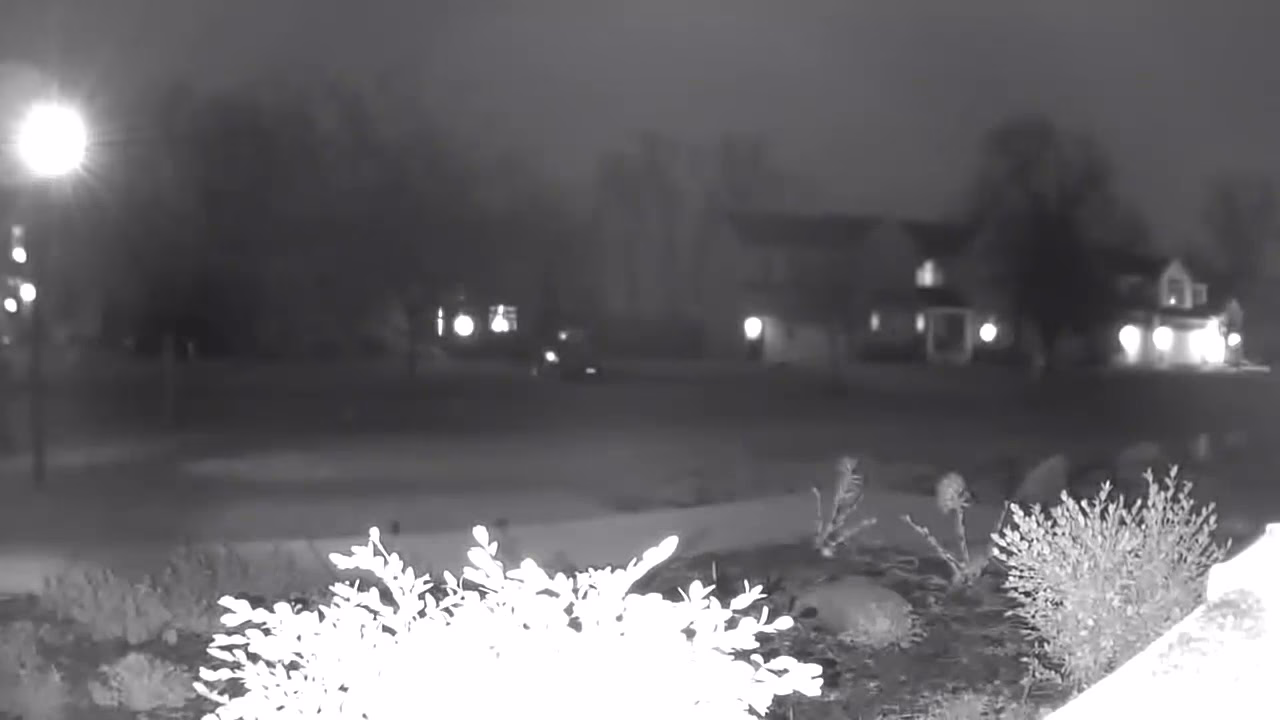
“Blink Outdoor Wi-Fi Camera – Sample …” from www.youtube.com and used with no modifications.
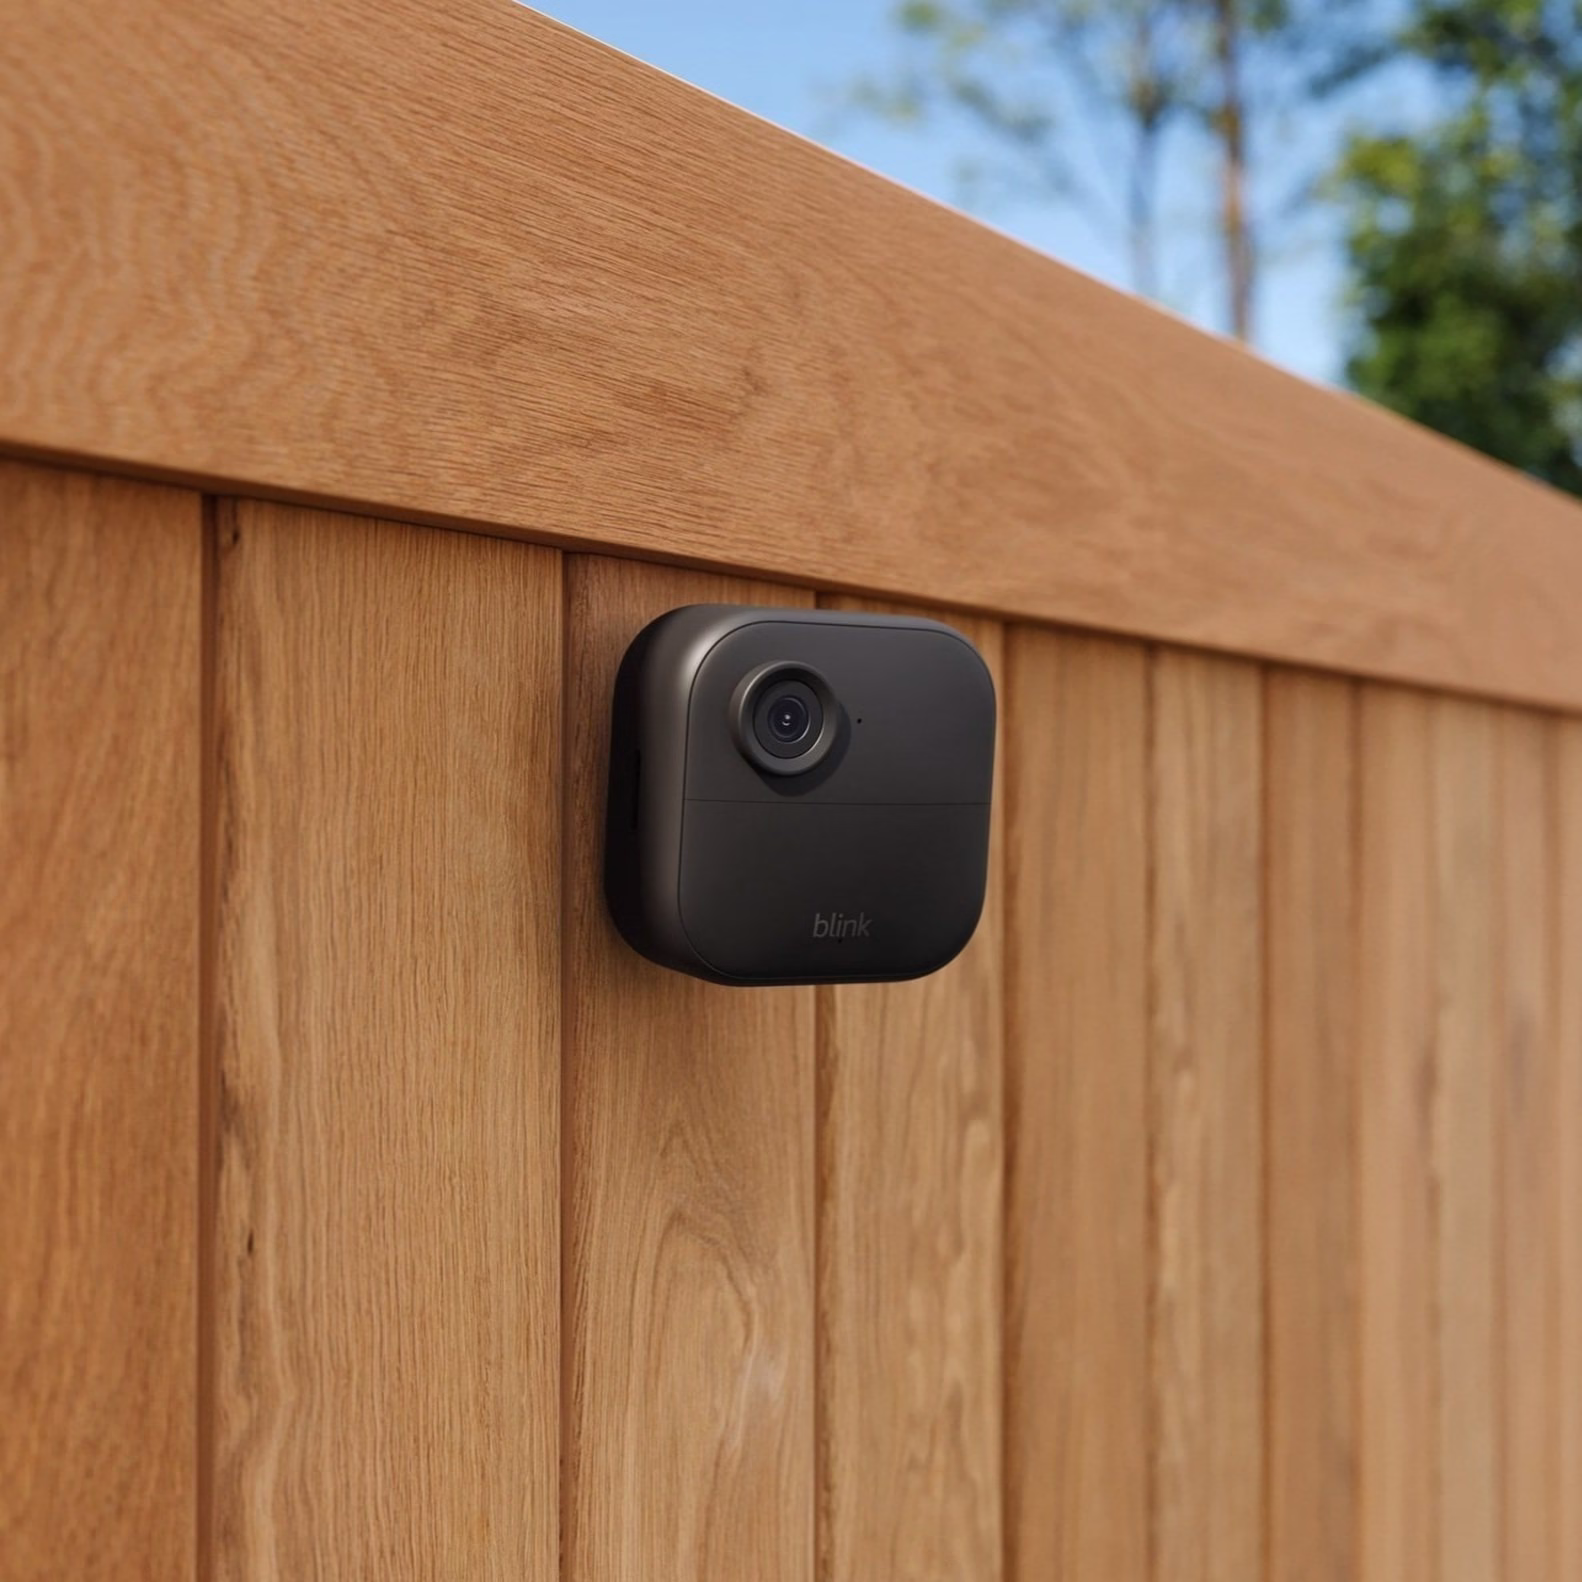
Getting the Most Out of Your Camera Placement for Night Vision
No matter how good your settings are, they won’t make up for a badly placed camera. That’s why it’s so important to put your Blink XT2 camera somewhere that really lets it shine when it comes to night vision.
Choosing the Best Locations for Clear Images
When deciding where to put your camera, consider these factors:
- Make sure there’s nothing blocking your camera’s view of the area you want to keep an eye on.
- Don’t put your camera in a place where it’s directly facing a bright light source, as this can cause glare and make the image quality worse.
- Think about how high you’re putting your camera; if it’s too high or too low, it might not be able to see everything.
By being thoughtful about where you put your camera, you can make sure it’s able to take clear, detailed videos, even when it’s dark.
Ensuring Clear Views by Avoiding Obstructions
Ensuring that your Blink XT2’s night vision is optimized is one of the most critical aspects. Obstructions such as branches, walls, or even decorations can interfere with the camera’s ability to capture clear footage. Therefore, it’s essential to regularly check the camera’s field of view and remove any potential obstacles.
For example, if you have your camera set up outside, you need to ensure that any close trees or bushes are well trimmed. This stops any branches from getting in the way of the camera’s view or causing false motion alerts when they sway in the wind. If you have your camera inside, keep it away from curtains or any other items that could block its lens.
Optimizing Indoor and Outdoor Lighting
Lighting is a key factor in the performance of your Blink XT2’s night vision. The camera is built to function well in low-light conditions, but artificial lighting can sometimes create problems. For instance, bright lights can produce glare or reflections that hide crucial details in your video.
For better lighting balance, don’t place the camera directly in front of intense light sources like streetlights or porch lights. You should slightly angle the camera away from these lights to reduce glare. You might also want to use motion-activated lights that only switch on when there’s movement. This lets the camera record clear video without the constant disruption of bright lights.
Boosting Connection for Better Performance
Aside from location and lighting, connection is another key element in boosting your Blink XT2’s performance. A strong Wi-Fi connection makes sure that your camera can send footage efficiently and react promptly to commands. Without a solid connection, you could face delay, lost signals, or incomplete recordings. For more tips on optimizing your security setup, check out The Smart Buyer’s Guide to Night Vision Security.
There are a few important steps to take to ensure that your Wi-Fi connection is strong and stable. First, make sure your Wi-Fi router is located in the center of your home to minimize the distance between the router and your camera. Also, consider upgrading to a dual-band router if you haven’t done so already. This could help to reduce interference and improve the performance of your network as a whole.
Maintaining a Strong Wi-Fi Connection
In order to ensure your Blink XT2 camera stays connected to Wi-Fi, you should verify the signal strength at the location of your camera. This can be done by using an app on your smartphone that measures Wi-Fi signal strength or by simply monitoring the performance of your camera. If you find that the signal is not strong, you may want to consider moving your router closer to the camera or using a Wi-Fi extender to improve the signal in that area.
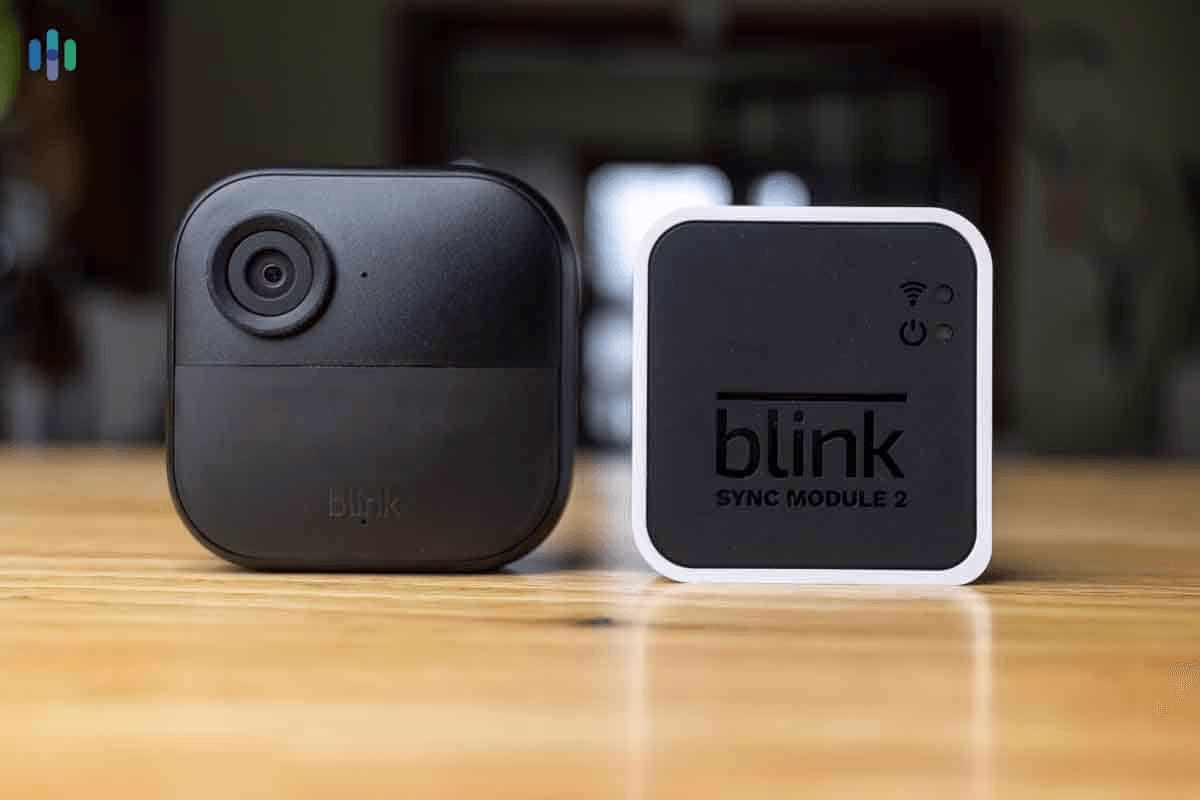
Where to Place Your Sync Module for the Best Signal
Your Blink XT2 comes with a sync module that helps your cameras connect to the internet. It’s really important that you place this module in the right spot to keep your signal strong. The best spot for the sync module is somewhere in the middle of all your cameras. This way, it’s not too far from any one camera and there’s less chance something will block the signal.
Should you encounter problems with connectivity, attempt moving the sync module to see if there is an improvement in the signal. Keep it away from large metal objects or electronic devices that could potentially cause interference. You can guarantee that your cameras stay connected and perform optimally by improving the location of your sync module.
Here are some simple, actionable tips to help you get the most out of your Blink XT2 camera:
- Regularly monitor your Wi-Fi signal strength.
- If you’re experiencing connectivity issues, try moving the sync module to a different location.
- If your coverage still isn’t what you’d like it to be, a Wi-Fi extender might be a good investment.
By putting these steps into practice, you can improve the connectivity of your Blink XT2 system, ensuring that it performs well and reliably transmits footage.
How to Prolong Battery Life When Utilizing Night Vision
While the battery life of the Blink XT2 camera is a major selling point, using night vision can drain the battery faster, potentially impacting its overall performance. To keep your camera running for the longest possible time, it’s crucial to optimize power settings and regularly maintain the device.
Initially, you may want to look at tweaking the recording length and motion sensitivity settings on your camera. By shortening how long the camera records and decreasing its sensitivity, you can save battery life without sacrificing your home’s safety. Furthermore, frequent updates to the firmware can enhance the battery’s efficiency, so it’s important to keep your camera’s software updated.
Best Power Settings for Extended Battery Life
For a longer battery life, it’s recommended to adjust your camera to record for shorter periods of time. It might be tempting to record long clips, but this can use up the battery faster. Try setting the camera to record for about 10-15 seconds for each motion event. This should be enough time to capture the important details and also save battery life.
Another trick is to tweak the motion sensitivity settings. If your camera is in a busy area, you might want to lower the sensitivity to cut down on unnecessary recordings. This not only conserves battery life but also reduces the number of alerts you get. For those with larger properties, consider exploring the camera you actually need to ensure optimal coverage.

Consistent Upkeep and Updating Firmware
Regular upkeep and firmware updates are key to maintaining your Blink XT2 camera’s performance. Keep the camera lens clean to guarantee clear video footage and inspect the camera for any signs of wear or damage. Furthermore, regularly check for firmware updates via the Blink app. These updates frequently include enhancements to battery efficiency and overall performance. For more detailed guidance on maintaining night vision equipment, you can refer to this smart buyer’s guide to night vision security.
By sticking to these maintenance tips and tweaking the settings of your camera, you can prolong the battery life of your Blink XT2 and make sure it remains a dependable component of your home security setup.
How to Best Utilize Motion Detection in Conjunction with Night Vision
The Blink XT2 comes with a motion detection feature that can send you alerts and record video whenever it senses movement. However, in order to fully take advantage of this feature, particularly in darker settings, it’s crucial to adjust the settings to fit your surroundings.
Firstly, you need to set up specific motion zones. This feature lets you direct the camera’s focus to important areas and disregard others. For example, if your camera is pointed at a driveway, you can set the motion zone to cover the area where vehicles come in and out, while ignoring the street beyond.
Adjusting Sensitivity to Minimize False Alerts
False alerts are a frequent problem with motion detection. They can be set off by anything from a car driving by to a tree blowing in the wind. To cut down on false alerts, tweak the sensitivity settings on the Blink app. If you decrease the sensitivity, it can help to ignore smaller movements and make sure you only get alerts for major events.
As well as fine-tuning the sensitivity, think about using the scheduling function of the camera. This lets you specify when the camera should be on, cutting down on pointless alerts when you don’t need to be watching. By tailoring these settings, you can improve the efficiency of the motion sensor and make sure your Blink XT2 records the most important footage.
Setting Up Motion Zones for Customized Alerts
For Blink XT2 users, setting up motion zones can be a real game-changer. By setting up these zones, you can focus on the areas that are most important to you, such as driveways or entrances. This reduces the number of unnecessary alerts and makes sure you only get notified when something important happens.
Setting up motion zones is easy. All you have to do is open the Blink app and go to the settings of your camera. From there, you can personalize the zones by sketching them right on the screen. This allows you to remove areas such as roads or trees that could cause unwarranted notifications.
Wrapping Up: Getting the Most Out of Your Blink XT2 Night Vision
Improving your Blink XT2 night vision settings is a straightforward process. A few simple changes can greatly improve your camera’s performance, giving you clear and dependable footage both day and night. Whether you’re adjusting the IR intensity or setting motion zones, these steps will help you maximize the potential of your Blink XT2 camera.
A Quick Review of Optimization Techniques
Here’s a brief reminder of the main techniques we’ve covered:
Firstly, tweaking the IR intensity is key to getting clear night vision footage. Depending on your environment, you might need to play around with different settings to find the sweet spot.
Next, the placement of the camera and avoiding any obstructions can greatly improve the camera’s performance. Making sure that the camera has a clear view and reducing any glare from man-made lights will improve the camera’s visibility.
Why You Should Regularly Check Your Settings
Keep in mind that technology and environmental conditions can change, so it’s crucial to frequently review your camera’s settings. Regularly review your footage and tweak settings as necessary to keep your camera performing at its best. By being proactive, you can ensure that your Blink XT2 camera continues to effectively safeguard your home.
Commonly Asked Questions
I’ve gathered some of the most frequently asked questions about how to optimize the night vision settings on a Blink XT2. Let’s take a look at each one:
How can I change the night vision IR intensity on my Blink XT2?
To change the IR intensity, you’ll need to open the Blink app and go to the camera settings. In the night vision section, you’ll see options for Low, Medium, and High intensity. Pick the one that gives you the best clarity for your specific surroundings.
Is it possible to use the Blink XT2 outdoors during the night?
Definitely! The Blink XT2 is specifically designed for outdoor usage and it performs excellently during the night. Just make sure to place it somewhere with a clear line of sight and minimal obstructions. Also, think about using motion-activated lights to enhance the camera’s night vision abilities.
Placing your camera outside can be especially useful for keeping an eye on driveways, backyards, and entrances. Just make sure to periodically review and tweak the settings as necessary to guarantee the best performance. For larger properties, you might want to consider the right camera for big properties to ensure comprehensive coverage.
What can I do if my Blink XT2 night vision is not clear?
If you find that the footage is not clear, first clean the camera lens to get rid of any dust or debris. Then, look at the IR intensity settings and change them if needed. Often, a small adjustment can greatly improve the image quality.
Also, double-check that your camera isn’t pointed at any strong light sources or reflective objects that could cause a glare. If you’re still having issues, you might want to reach out to Blink’s customer service for more help.
Keep in mind, consistent upkeep and evaluations are crucial for keeping your footage clear and dependable.
How do I restore my Blink XT2 settings to the original factory settings?
Restoring your Blink XT2 settings to the original factory settings is simple. In the Blink app, go to the camera settings and find the restore option. This will reset all settings to the state they were in when you first got the camera, so you can start over with your tweaks.
Remember, resetting will delete any custom settings you’ve made, so it’s a good idea to write down any settings you want to keep before you start.
How far should I place my Blink XT2 camera?
To get the best results, you should place your Blink XT2 camera no more than 20 feet from the area you want to monitor. This will make sure that the camera can clearly capture all the details and that the IR LEDs can properly light up the scene.
When your camera is placed too far from the area you want to monitor, the quality of the image can be compromised, particularly in the dark. So it’s worth spending a bit of time on placement to get the best view and coverage. For more tips, check out this guide on best settings for Blink Outdoor Camera.
Ultimately, fine-tuning your Blink XT2 night vision settings is a crucial part of boosting your home security. With these tips in mind and regular checks on your setup, your camera will continue to be a dependable and efficient part of your security system.