Important Points
- Turning on your thermal camera isn’t as simple as it seems; make sure you have the basic settings right for the best performance.
- Customize the settings of your camera to suit your needs and preferences, including the units of temperature.
- Correctly focusing the lens is key to getting clear thermal images; adjust the lens until the image comes into focus.
- Knowing and setting the emissivity is important for accurate temperature readings of different materials.
- Changing the thermal sensitivity levels can help you get the right amount of detail in different situations.
How to Properly

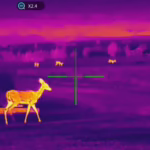
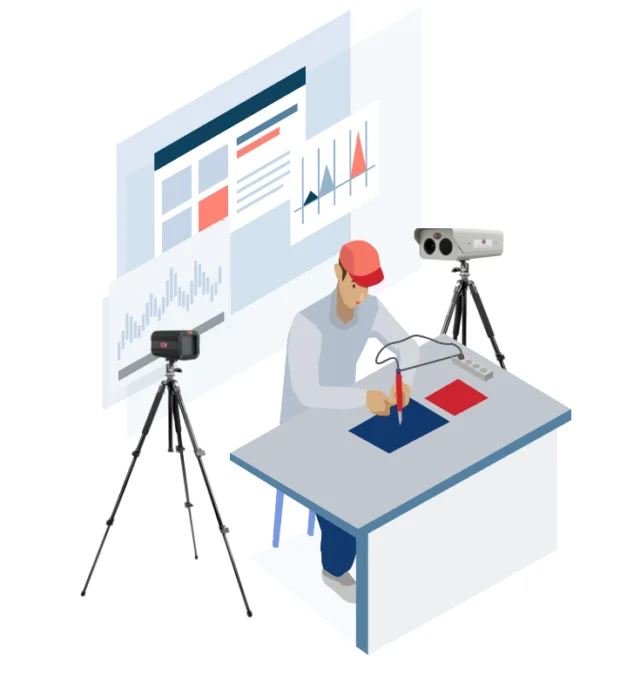
“Using my thermal imaging camera to …” from www.reddit.com and used with no modifications.
Setting up a thermal imaging camera is not just about unboxing it and turning it on. There are several key steps to make sure that your camera gives you the accurate data you need. Let’s go through these steps to make sure your camera is ready to go.
Turning On the Camera
The first step, turning on your thermal imaging camera, is simple but important. Start by making sure that the camera is fully charged or plugged into a dependable power source. This way, your device won’t unexpectedly turn off during important measurements.
After you’ve made sure the power source is stable, press the power button to start the camera. It’s vital to give the camera a few seconds to start up and settle. This brief pause is essential for the internal systems to calibrate, guaranteeing that your readings will be precise from the beginning.
Customizing Fundamental Preferences
Once the device is switched on, it’s time to customize your fundamental preferences. These preferences include the date, time, and language. Properly setting these up ensures that any data you collect is accurately timestamped, which can be vital for monitoring changes over time or for reporting purposes.
It’s easy to dismiss the significance of setting the language to something you understand well. It might seem like a small thing, but being able to comprehend every prompt and setting can help you avoid expensive mistakes. Take a few minutes to explore the menu and tweak these settings to your preferences.
Choosing the Right Measurement Units
It’s important to select the right measurement units to make sure the data you collect is useful and easy to understand. Most thermal cameras let you choose between Celsius, Fahrenheit, and Kelvin. For a deeper understanding of how these units can impact your thermal imaging, you might find this beginner’s guide to clear night vision helpful. Choose the unit that works best for your needs or that your team is most comfortable using.
Doing this straightforward step can avoid misunderstandings and mistakes when reading thermal data. If you’re part of a global team, it’s wise to make the units the same on all devices to ensure uniformity.
Tweaking the Camera Settings for Precise Readings
After you’ve finished the initial setup, it’s time to delve into the camera settings that directly influence the quality and precision of your thermal images. These tweaks will make sure that you gather the most comprehensive and exact thermal data possible.
Adjusting the Lens
One of the most crucial steps in using a thermal imaging camera is adjusting the lens. If the lens is not properly adjusted, the images may appear blurry, leading to incorrect data interpretation. Keep adjusting the lens until the image on the display is sharp and clear.
For cameras that come with a manual focus, you’ll have to manually adjust the lens ring. If your camera has an automatic focus, you might need to tweak some settings in the menu to make sure it’s calibrated correctly for your particular environment. Always make sure to double-check the focus before you take any important pictures.
How to Adjust Emissivity for Various Materials
Emissivity, the ability of a material to radiate thermal energy, is a critical setting for accurate temperature measurements. Different materials have different emissivity values, and not taking this into account can lead to substantial inaccuracies.
Most thermal cameras give you the ability to manually change the emissivity settings. Check an emissivity table to find the correct value for the material you are measuring. Enter this value into the camera settings to make sure that your temperature readings are accurate.
Keep in mind that everyday materials such as metals, plastics, and ceramics each have unique emissivity values. Make sure to adjust your settings accordingly when you switch from one surface to another.
Tweaking the Levels of Thermal Sensitivity
The thermal sensitivity of a camera, also known as NETD (Noise Equivalent Temperature Difference), gauges the camera’s ability to pick up on differences in temperature. By tweaking the settings for sensitivity, you can capture more intricate details in your thermal images, particularly in difficult conditions.
When you’re working in an area where the temperature changes are slight, you’ll want to turn up the sensitivity to pick up on the smallest details. On the other hand, if you’re in a location where the temperature varies greatly, you’ll want to decrease the sensitivity to avoid oversaturation and loss of detail. Adjusting this setting can greatly improve the quality of your thermal data.
Selecting the Appropriate Color Palette
Your thermal camera’s color palette can influence your interpretation of thermal images. Different palettes can emphasize different parts of the thermal data, making some details more noticeable than others. Choosing the correct palette for your specific use is critical.
- Ironbow: This is usually used for general-purpose applications because it offers a good balance between contrast and detail.
- Rainbow: This is useful for detecting slight temperature variations and is often used in medical or electrical inspections.
- Grayscale: This provides high contrast and is ideal for high-temperature applications or when precise detail is needed.

“FLIR E54 Advanced Thermal Imaging …” from www.flir.com and used with no modifications.
Try out different palettes to see which one works best for your needs, and don’t hesitate to switch palettes depending on the situation.
Keep the Path Clear Between Your Camera and the Target
When you’re using a thermal imaging camera, you need to make sure there’s nothing in the way between the camera and what you’re aiming at. If there’s something like glass or plastic in the way, it can mess with the infrared readings and make your data wrong. Make sure you’re always holding the camera so it can see straight to the target.
Also, keep in mind that environmental conditions like smoke, fog, or rain can distort readings as well. These conditions can scatter infrared radiation, which can cause the camera to register incorrect temperatures. If possible, wait for the conditions to get better or find a different angle to take your images from.
How to Capture and Store High-Quality Images and Videos
It’s crucial to be able to capture high-quality thermal images and videos for the most effective analysis. Begin by making sure that the camera settings, such as focus and sensitivity, are optimized for the environment. Use a stable tripod to avoid any motion blur, especially when capturing long exposures.
Once you’ve taken the pictures, it’s just as crucial to store them correctly. Store the images on a dependable storage device and keep the files tidy with easy-to-understand labels and timestamps. This organization will make it simpler to retrieve and examine the data when necessary.
Why Calibration is Essential
If you want your thermal imaging camera to provide accurate and reliable data, it is crucial to calibrate it regularly. Calibration guarantees that the camera’s readings match known temperature values, which is extremely important in professional environments where precision is key.
Why Calibration is Necessary for Accurate Measurements
Calibration is the process of adjusting the camera’s measurements to match known temperature standards. This adjustment corrects any discrepancies caused by issues such as sensor drift or changes in the environment. Regular calibration ensures that your camera continues to be a reliable instrument for thermal analysis.
In addition, calibration takes into account the potential wear and tear on the camera’s parts. As these parts age, they can deteriorate, which can lead to inaccuracies. By recalibrating, you can compensate for these changes and keep your measurements accurate.
Understanding Factory Calibration and Its Shortcomings
Typically, thermal cameras are calibrated in the factory under controlled conditions. This initial calibration is designed to ensure that the camera works properly when it’s first used. However, factory calibration isn’t perfect. It doesn’t take into account environmental factors that can change readings.
Calibration from the factory is created with a broad set of conditions in mind, which may not take into account the specific environment where you’ll be using the camera. This means that relying only on factory calibration can result in inaccuracies, especially if you’re working in unique or extreme conditions.
Furthermore, the factory calibration doesn’t take into account the camera components’ aging. As time passes, these components can drift from their initial settings, which makes it necessary to recalibrate periodically to maintain accuracy.
- While factory calibration is a good starting point, it doesn’t guarantee ongoing accuracy.
- Consistent recalibration is required to ensure the camera remains accurate in different environments.
Regular Calibration to Avoid Drift
Regular calibration is key to avoiding drift, which is when the camera’s readings slowly stray from the actual values over time. Drift can be caused by things like changes in temperature, humidity, and the aging of the camera’s components.
Drift can be effectively dealt with by setting up a routine calibration schedule. The majority of manufacturers advise recalibrating at least annually, or more often if the camera is used in severe conditions. This will ensure that your thermal imaging camera continues to deliver dependable data.
How to Calibrate Thermal Imaging Cameras
You have several options when it comes to calibrating thermal imaging cameras, and each one has its own strengths. Knowing what these options are will help you pick the one that’s best for you.
Using Blackbody Radiation Sources
Blackbody radiation sources are often used for accurate calibration. These devices emit a steady and known temperature, providing a dependable reference point for calibration. By comparing the camera’s readings against the blackbody source, you can adjust the camera’s settings to ensure accuracy.
This technique is extremely efficient, but it necessitates the use of specialized tools, making it more appropriate for expert or laboratory use. However, it provides the most precise calibration results, ensuring the dependability of your camera.
Calibration Checks with Ice and Boiling Water
For a simpler and more accessible calibration method, you can use ice and boiling water as reference points. These substances have well-known temperatures (0°C and 100°C, respectively), making them useful for basic calibration checks.
For this calibration, take thermal images of the ice and boiling water, and then compare the readings to their known temperatures. Adjust the camera settings as needed to match these reference points. This method isn’t as accurate as using a blackbody source but is a handy option for quick checks.
Using OpenCV for Calibration
OpenCV is a widely used open-source computer vision library that provides advanced calibration tools for thermal cameras. This technique involves taking images of a known pattern like a checkerboard and then using OpenCV’s algorithms to tweak the camera’s settings.
Here’s how to do it:
- Take pictures of a checkerboard pattern from different angles.
- Use OpenCV to analyze the pictures and determine the intrinsic parameters of the camera.
- Based on the parameters you’ve calculated, tweak the camera settings to enhance precision.
This approach necessitates some technical know-how, but it is highly accurate, making it ideal for professional use where precision is paramount.
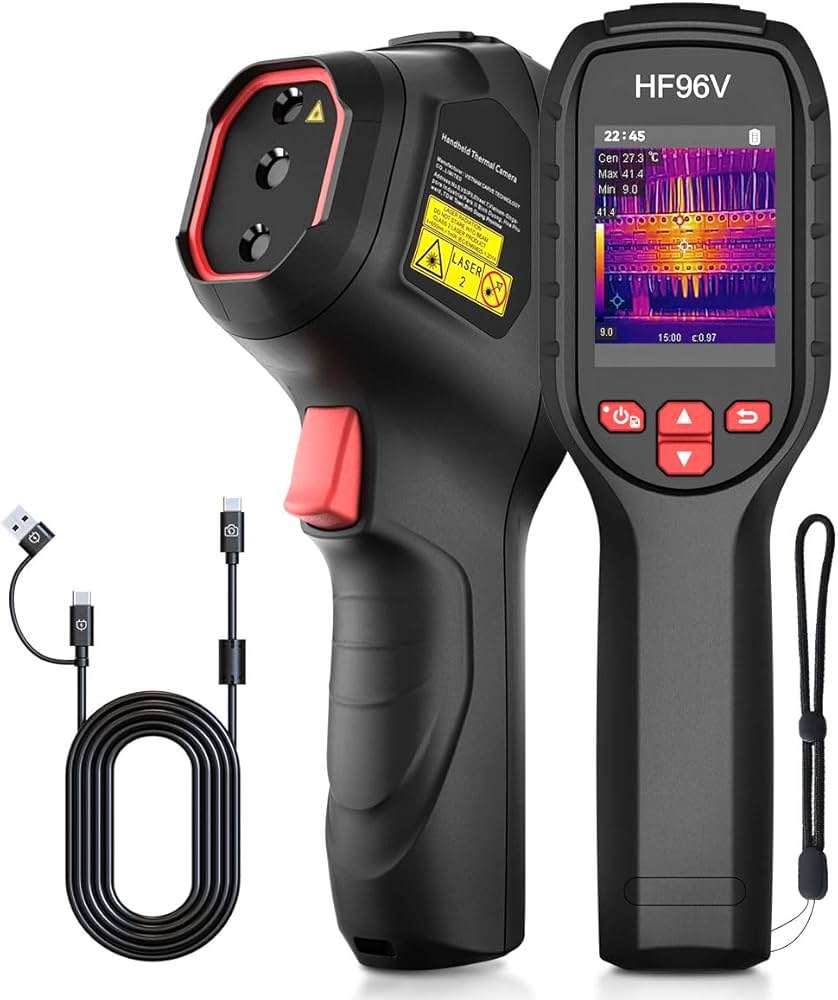
“HSFTOOLS HF96V Thermal Camera …” from www.amazon.com and used with no modifications.
Pick the Appropriate Camera and Accessories
It’s crucial to pick the appropriate thermal imaging camera and accessories, just like proper calibration. The correct equipment can greatly improve the quality and accuracy of your thermal data.
Comprehending Your Resolution Requirements
Choosing a thermal imaging camera requires you to understand the resolution. The resolution of a camera dictates the level of detail that it can capture in a thermal image. Cameras with a higher resolution can identify smaller variations in temperature and offer more detailed images, which is vital for accurate analysis.
For instance, a camera with a resolution of 640×480 pixels can capture a lot more detail than one with a resolution of 160×120 pixels. The higher the resolution, the clearer and more detailed the thermal image will be.
Take your particular use case into account when deciding on resolution. If you’re surveying large spaces or require detailed analysis, you should go for a camera with a higher resolution. However, for basic use cases, a lower resolution might be enough.
- For detailed inspections, you’ll want high resolution.
- For general monitoring, low resolution might be enough.
- Consider your needs and budget to find the right balance between cost and performance.
In the end, the best resolution for you will depend on what you specifically need and how much you’re willing to spend.
Choosing the Right Temperature Range
One of the key factors to consider when choosing a thermal camera is the temperature range. The temperature range tells you the lowest and highest temperatures the camera can measure accurately. It’s important to pick a camera with a range that includes all the temperatures you’re likely to come across in your work.
Necessary Extras for the Best Performance
To get the best out of your thermal imaging camera, you may need some extra accessories. Tripods are a must-have for keeping the camera steady during long exposures. Protective cases can keep the camera safe from harm from the environment. And, external lenses can broaden what the camera can do, letting you take measurements that are closer or have a wider field-of-view.
Helpful Hints for Troubleshooting
Even with the most careful setup and calibration, you might still run into problems. Being able to troubleshoot common issues can save you time and prevent inaccurate readings.
Begin by examining the essentials: make sure the camera is charged and the settings are properly set up. If the images look out of focus, adjust the lens and look for anything that might be blocking the view.
Typical Setup Errors and How to Fix Them
One common error is neglecting to change the emissivity settings, resulting in incorrect temperature measurements. Always adjust the emissivity according to the material you’re inspecting. Another frequent problem is not letting the camera acclimate to the environment, which can impact precision. Allow the camera a few minutes to adapt to the ambient temperature before using it.
Dealing with Calibration Mistakes
Calibration mistakes can occur due to a variety of factors, including changes in the environment or equipment deterioration. Regular calibration checks can help find and fix these mistakes. If the camera consistently gives incorrect readings, it may be time to have it professionally recalibrated.
There are times when you can fix minor issues by simply recalibrating with a known temperature source, such as ice or boiling water. If the problem persists, you might need a more advanced solution.
Here are some steps to fix calibration errors:
Here’s what you can do to ensure your thermal imaging camera is always delivering accurate data:
- Use a blackbody radiation source to recalibrate it for the best precision.
- Look for firmware updates that could potentially improve the calibration accuracy.
- If problems persist, get in touch with the manufacturer.
Keeping Your Camera in Top Shape
Keep your thermal imaging camera working its best by cleaning the lens regularly to avoid dust and smudges that can affect the image quality. When you’re not using it, keep the camera in a protective case to keep it safe from the environment.
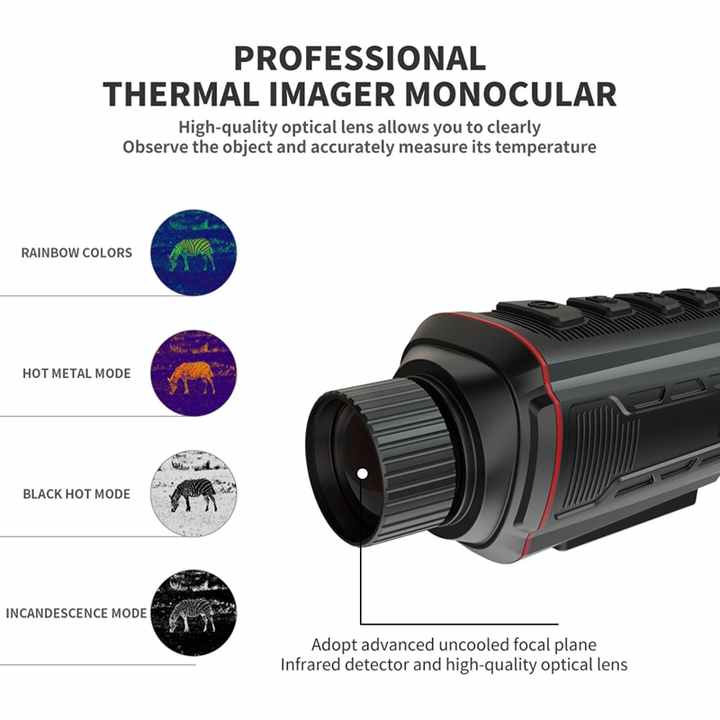
“Thermal Scope E3n – Night Vision for …” from www.alibaba.com and used with no modifications.
Common Questions
Here are some frequently asked questions about setting up and calibrating thermal imaging cameras.
What is the importance of calibration for thermal imaging cameras?
Calibration is important because it ensures the camera’s temperature readings are accurate. If the camera isn’t calibrated, the measurements can drift over time, leading to errors and potentially expensive mistakes in analysis.
How should I adjust emissivity for different materials?
For the most accurate emissivity setting, you’ll want to consult an emissivity table for the specific material you’re working with. You can then input this value into your camera settings. If the material isn’t listed, many people use a default emissivity of 0.95, but this can cause inaccuracies if not properly adjusted.
What is the recommended calibration frequency for thermal cameras?
It is recommended that thermal cameras be calibrated at least once per year, or more often if they are used in challenging environments. Regular calibration is important to ensure the camera continues to provide accurate and reliable readings, prevent drift, and maintain the integrity of the data. If you’re using the camera for applications that require utmost accuracy, you might want to think about getting it professionally calibrated.