Mastering the skill of shooting with a night vision scope requires understanding the critical role of zeroing. This process aligns your scope with your firearm, allowing for accurate shots, even in the darkest conditions. This guide will take you through the step-by-step process of zeroing your Pulsar Phantom Night Vision Scope, ensuring you have the knowledge to improve your shooting accuracy and confidence.
Overview of the Article
- For accuracy and confidence in low-light conditions, it is crucial to zero your scope.
- The Pulsar Phantom comes with unique features that help in zeroing accurately.
- Before you start the process of zeroing, make sure you have all the necessary equipment.
- Choose an environment that is similar to your usual shooting conditions.
- For the best results, follow a structured, step-by-step method.
How to Zero the Pulsar Phantom Night Vision Scope
Zeroing your night vision scope is not just a technical requirement; it’s an essential skill that every enthusiast should have. The Pulsar Phantom is designed with advanced features to make this process as easy as possible, but understanding how it works is key to getting the best results.
Importance of Zeroing for Night Vision Scopes
Consider this: you’re on a nocturnal hunt or a tactical operation. The last thing you need is to miss your mark because your scope isn’t properly zeroed. Zeroing guarantees that your point of impact matches exactly where your reticle is pointing. This is critical because there is no room for approximation in low-light conditions. A correctly zeroed scope increases your ability to make fast, accurate calls, and improves your overall self-assuredness.
Understanding Your Scope and Getting Started
Your Pulsar Phantom Night Vision Scope is loaded with features that simplify the zeroing process. Before you start, get to know its controls and settings. The scope’s digital display and user-friendly interface make it easy to make adjustments, and its sturdy construction means it can handle all kinds of weather and environments. Make sure the scope is securely attached to your firearm and that everything is working as it should.
Preparing for Zeroing
Before you start zeroing, you need to make sure you’re prepared. This means having all the necessary equipment and ensuring your environment is suitable for precision shooting. This not only saves you time, but it also improves the accuracy of your adjustments.
Collecting the Right Tools
For proper Pulsar Phantom zeroing, you’ll require several important things:
Here’s what you’ll need to properly zero your Pulsar Phantom Night Vision Scope:
- A stable shooting rest to prevent unnecessary movement.
- A target that you can see in low-light conditions. If it has a reflective surface, even better.
- The type of ammo you’ll be using with this setup most of the time.
- Whatever tools you’ll need to adjust the scope, like a small screwdriver or Allen wrench.
- A way to record your settings and adjustments, like a notebook or device.
Having these items ready to go will make the zeroing process go a lot smoother and faster.
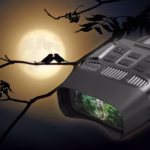
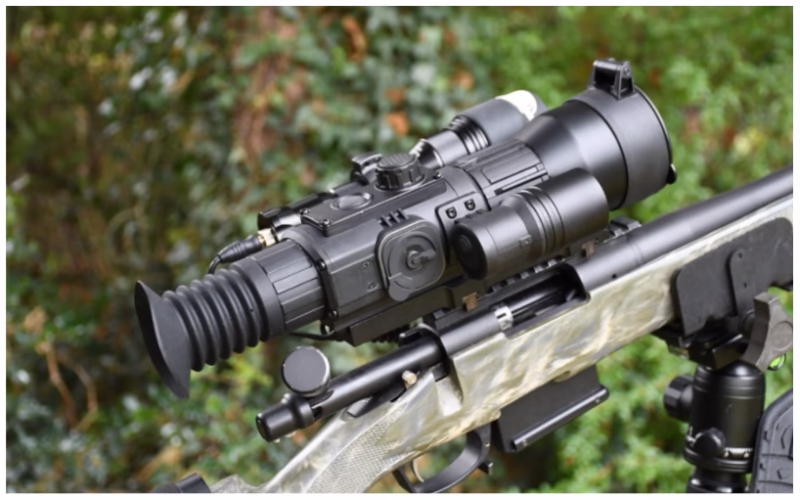
“Pulsar Phantom 4×60 Gen 2+ natkikkert …” from sie-hunting.com and used with no modifications.
Picking the Right Location
The location where you zero your scope is important. You want to choose a location that is similar to where you’ll be using the scope. If you’re going to be hunting in the woods, find a wooded area to zero your scope. Make sure it’s a safe location and you have a clear view of your target. Also, the time of day you zero your scope can make a difference. If you zero your scope at dusk or dawn, it will be more similar to the conditions you’ll be using your night vision scope in than if you zero it in the middle of the day.
When you’re all set and in the correct location, you’re ready to start zeroing. In the following section, I’ll walk you through the step-by-step procedure to get your scope in perfect alignment.
Zeroing the Pulsar Phantom: A Step-by-Step Guide
When you zero your Pulsar Phantom Night Vision Scope, you’re aligning the reticle (the crosshairs in your scope) with the actual point where your bullets hit. This makes sure that where you’re looking through the scope is exactly where your bullet will go. This process is methodical and requires patience and precision. Let’s walk through the steps you need to take to get a perfect zero.
Start by making sure your rifle is securely mounted on a stable platform. This will minimize any movement that could throw off the accuracy of your shots. A shooting bench or a bipod can provide the stability you need. Once everything is set, you can start the boresighting process, which is a preliminary alignment of your scope with the barrel of your rifle.
Example: “Think of it like setting up a telescope to look at the stars. Boresighting is like finding the North Star; it’s the first point of reference that guides all your other adjustments.”
After you’ve finished the boresighting process, the next step is to adjust your scope with live rounds. This is an essential step in making sure your scope is zeroed accurately at your chosen distance, which is usually 100 yards.
Getting Started with Boresighting
Boresighting is the initial process of aligning your scope with your rifle’s barrel. To do this, you’ll need to take out the bolt from your rifle and look down the barrel to find a target. Once you’ve found a target, adjust your rifle so the target is in the center of the barrel.
After that, look through your scope and adjust the windage and elevation turrets until the reticle is also centered on the target. This alignment doesn’t have to be perfect but should be as close as possible to save time and ammunition during live firing. Once you’re satisfied, reassemble your rifle, ensuring everything is secure before moving on to the next step.
Refining with Target Practice
Now that you’ve finished boresighting, it’s time to hit the range for some real shooting adjustments. Set your target up at the distance you want to zero in on, usually 100 yards. Load up your rifle and take a few shots, aiming for the target’s center each time.
Once you’ve shot a few rounds, take a look at your target. Where are your bullets landing in relation to where you were aiming? If they’re not hitting dead center, you’ll need to adjust your scope. Use the windage and elevation turrets to move your point of impact in the direction you want it to go. For a more detailed guide on improving accuracy, you can refer to this calibration guide. Keep doing this until your bullets are consistently hitting the bullseye.
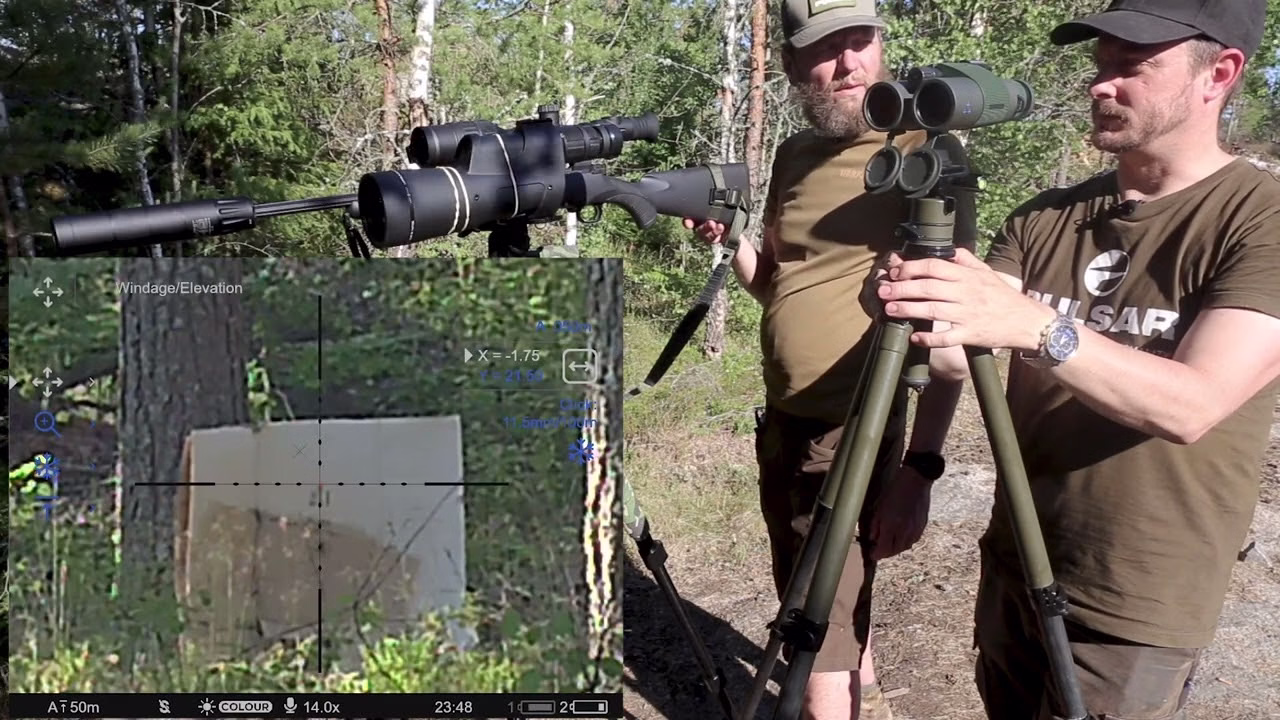
Tweaking Horizontal and Vertical Alignment
For accuracy, tweaking the horizontal and vertical alignment is crucial. Horizontal alignment is referred to as windage while vertical adjustments are called elevation. The majority of scopes have turrets that make a clicking sound when turned. Each click usually represents a specific measurement, often 1/4 MOA, which is roughly 0.25 inches at 100 yards.
When making adjustments, manipulate the turrets to move the reticle in the direction required to match your shots. For instance, if your shots are landing low and to the right, you would adjust the elevation turret upwards and the windage turret to the left. Always make these adjustments gradually and reassess your shots after each round of adjustments.

Keeping Track of Your Settings
After you’ve zeroed your scope, make sure to write down your settings. That way, if you ever need to make adjustments, you can easily get back to your zero. You’ll want to record how many clicks away from the starting point you are for both windage and elevation. Also, make a note of the weather conditions when you zeroed.
By keeping a detailed log, you can ensure consistency and it can be incredibly helpful if you ever need to re-zero your scope after traveling or after significant changes in the environment. This small step can save you a lot of time and frustration in the future.
How to Get the Best Accuracy
Getting your night vision scope to be accurate and stay that way is about more than just zeroing. You need to practice often and pay attention to the little details. Here are some more tips to make sure your scope is always accurate and reliable.
First off, it’s crucial to use the same kind of ammo when you’re zeroing and shooting. Different ammo can have different ballistic properties, which can mess with your accuracy. If you stick to the same ammo, you’re more likely to keep a reliable zero. For more tips on maintaining accuracy, check out our thermal accuracy setup guide.
Choosing the Perfect Reticle Settings
The Pulsar Phantom has a variety of reticle options to choose from. Select a reticle that matches your shooting style and the conditions you’ll be shooting in. Some reticles are designed for long-range shooting, while others are perfect for close-quarters situations. Try out different settings to see what you prefer.
Also, make sure that the brightness of your reticle is adjusted properly for the lighting conditions. If it’s too bright, it might hide your target; if it’s too dim, it might be difficult to see. Adjusting the brightness can greatly improve your ability to acquire targets and your accuracy.
Consider the Weather
The weather can make a big difference when you’re trying to zero your night vision scope. Things like temperature, humidity, and wind can change where your bullets end up. So, you need to think about these things when you’re zeroing your scope.
For example, cold weather can make the air denser, which can affect the speed and path of your bullet. High humidity can also change the path of your bullet. To counteract these variables, always try to zero your scope in conditions that are similar to what you expect to encounter when you are actually using it.
Wind is a major variable that can dramatically affect where your bullet ends up. A mild gust of wind can send a bullet off its intended path, especially when shooting from a long distance. You can practice compensating for wind by watching how it affects your shots and adjusting your aim as needed.
Keeping Your Zero in Check
Once you’ve zeroed your scope, don’t forget to check it every now and then to make sure it’s still accurate. Regular use, changes in the environment, or even a small bump can knock your scope out of alignment. Checking your zero regularly will help keep your equipment performing at its best and keep you confident in its accuracy.
Wrapping Up
Learning how to zero your Pulsar Phantom Night Vision Scope is an essential skill for any shooter. It will improve your accuracy and make your shots more effective. By following a systematic process, considering the weather, and taking care of your gear, you can trust your scope to perform well in any situation. Just remember, the more you practice and the more consistent you are, the better you’ll get. With these tips, you’ll be a night vision shooting pro in no time.
Common Queries
- How frequently should I re-zero my scope?
- What steps should I take if my shots continue to be off-target?
- Is it possible to zero my scope in daylight?
Zeroing isn’t a one-and-done process. Changes in environmental conditions, different ammunition, or physical impacts may all require you to re-zero. Regularly checking your zero, particularly before important missions or hunts, will help keep your scope on target.
Should you find your shots regularly failing to hit their mark, it may be time to go back and zero your scope again. Look for any mechanical problems like loose mounts or damaged parts. Also, be sure that you’re using the same type of ammo that you used when you zeroed the scope, as different types can have different effects.
You can zero your scope during the day, but you’ll need a few extra tools. You can use a pinhole lens cap or a low-light filter to avoid overexposure and make sure your adjustments are accurate. However, it’s always best to zero in conditions that are as close as possible to the conditions in which you’ll actually be using the scope for the best results.
When should I re-zero my scope?
You should re-zero your scope any time you switch ammo types or make major changes to your rifle or scope. It’s also a good idea to check before hunting or tactical operations to make sure your scope is still accurate.
Start by reevaluating your zeroing procedure. Make sure everything is tightly fastened and there are no mechanical problems. If the issue continues, you might want to get help from a professional or someone who has a lot of shooting experience.
Also, check your shooting method. Aspects like trigger pull, breath control, and position can all affect where the bullet lands. Training with a seasoned shooter can help you spot and fix any problems.
Is it possible to zero my scope in the daytime?
Yes, you can zero during the day, but you need to keep a few things in mind. To prevent the scope from being overwhelmed by daylight, use a pinhole lens cap or low-light filter. This simulates low-light conditions and allows for accurate adjustments.
But, it’s always best to zero in conditions that are very similar to your actual shooting environment. This makes sure that your adjustments stay relevant and effective when you need them the most.
In the end, the aim is to get a reliable and consistent zero, no matter the time of day or the weather conditions. With the right planning and attention to detail, you can do this and improve your shooting skills.